TEXT HERE

Stamping Tilda

P1040272
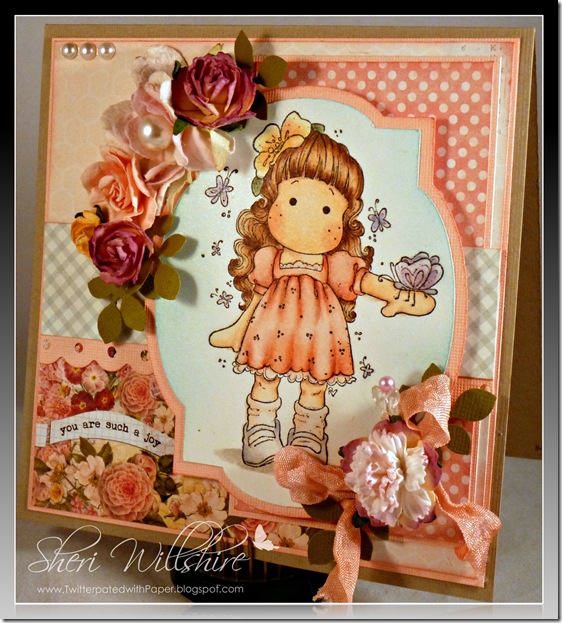
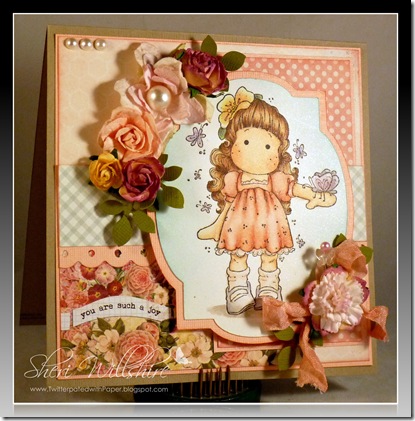
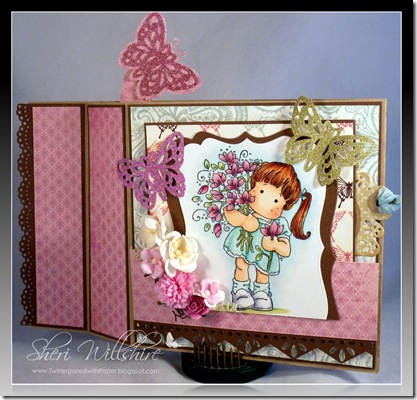
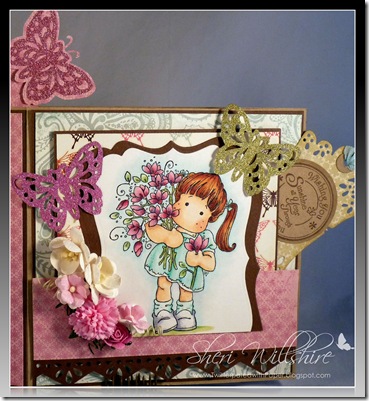
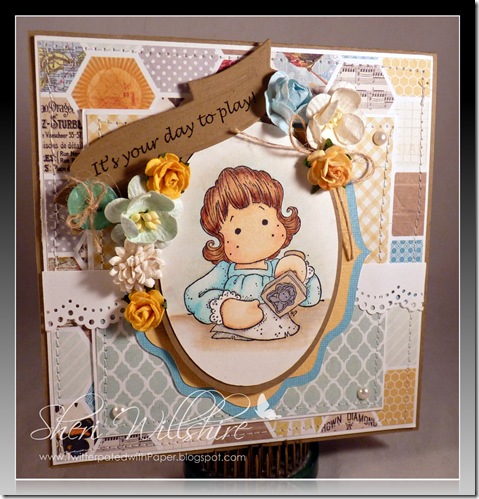
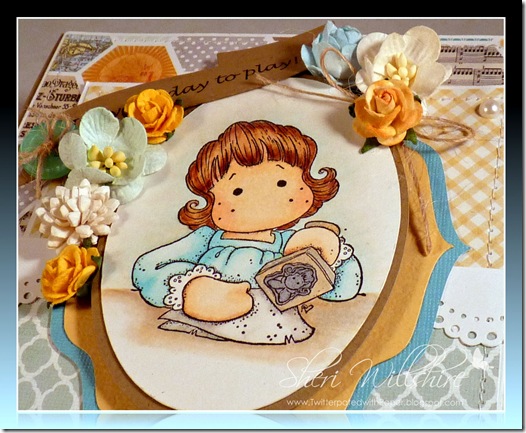
Hi all! I am back today with a card using this super cute Tilda Stamps image from Magnolia and now available at 7 Kids College Fund. Wouldn’t this stamp make a darling birthday card for a stamping friend? That’s exactly what I thought! Last Sunday was so blissful. It was cold, rainy and dreary outside. Perfect for playing with paper, ink and stamps, so I stayed in …and put this little number together. I guess it was my day to play, huh? LOL!
P1040270
Thank you so much for visiting me today and I hope you’re having a fabulous Wednesday!
Supplies used:
Additional supplies:
Flowers ~ Wild Orchid Crafts
Sentiment ~ Computer generated
Die Cut Mats are from my Cameo

Happily playing along in these challenges:

Wild Rose ~ New Baby


We made it!  It’s Friday!! :)
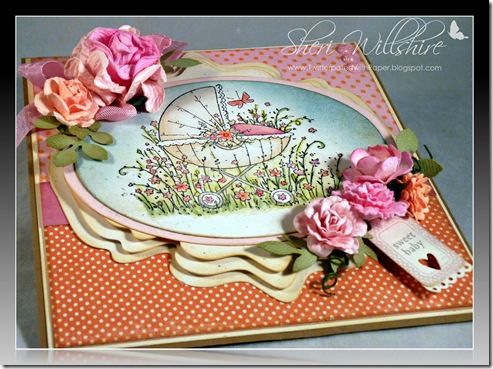
  Isn't this a sweetheart of an image from Wild Rose Studio?  The stamp is called New Baby.


P1040244
Copics:
R20, R22, R81, R83, R85
G20, G21, G24, YG23
W00, W0, W01, E42
Additional Supplies:
Wild Rose Stamp ~ New Baby
Antique Linen Distress Ink
Broken China Distress Inks
Matting from my Silhouette Cameo
Patterned Paper from My Minds Eye ~ Happier
Flowers ~ Wild Orchid Crafts
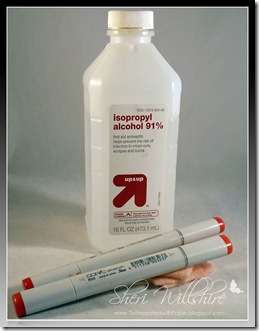
I also wanted to share with you a little tip on how I keep my markers clean and shiny. I just pour a bit of everyday old rubbing alcohol on a cotton ball or a piece of felt and rub the the marker case.

The ink comes right off…just like magic.  

P1040256
That is it for me today! Have a wonderful weekend and thank so much for visiting!
Joining theses challenges:

Spring has Sprung

Just a quick post today! I hope you're having a wonderful week! P1040245
Thanks so much for stopping by! Smile

P1040250
Supplies can be found at 7 Kids College Fund
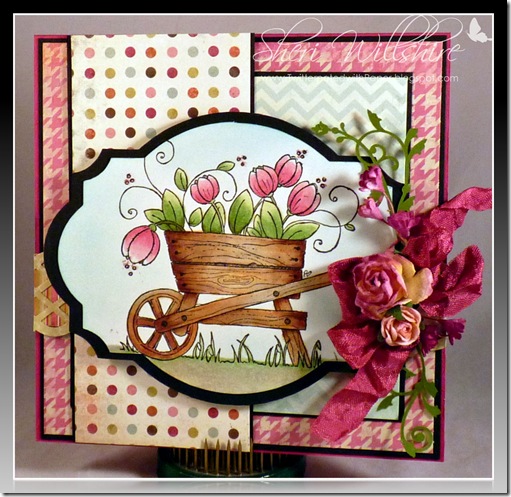
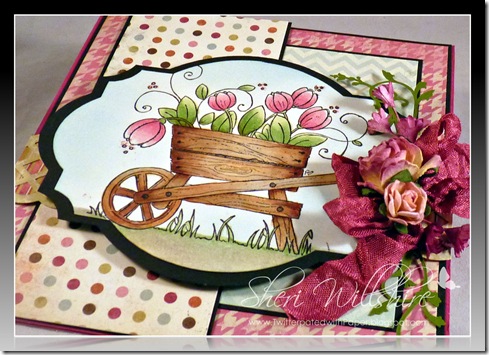
Magnolia ~ Tulip Wheelbarrow

Little Darlings Blog Hop - Spring is in the Air

Oh my gosh! Are you just loving what you’ve seen so far?! Hopefully, you've arrived after visiting the ridiculously talented Mindy Baxter. Does that girl have mad talent…or what? From here, you will want to hop over to Sara’s delightful blog to see what incredible eye candy she has for you.

So, the other day, I received an email, from Mindy Baxter, asking if I would be interested in joining The Colors of Spring, Little Darlings Blog Hop! I am seriously…still black and blue from pinching myself!  All I could get out was…. YES, YES, YES!!!!!
P1040230
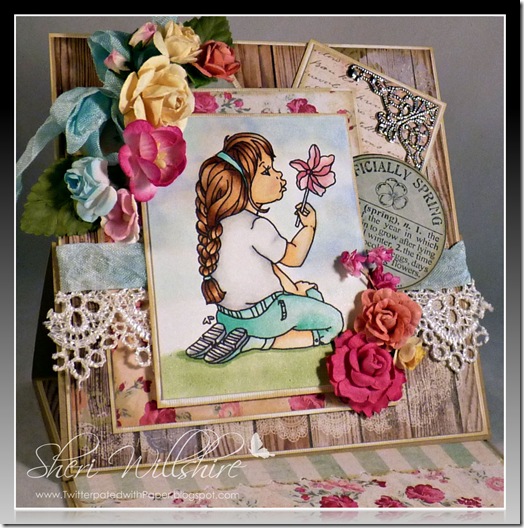
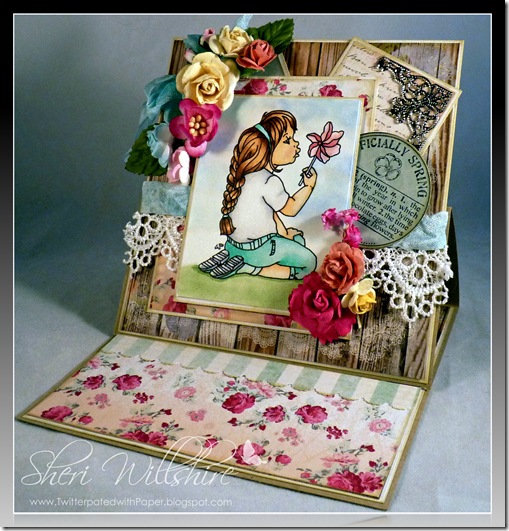
The latest release from Little Darlings is called Spring is in the Air…and oh man are they DARLING! After much deliberation …I chose the super cute stamp, Pinwheel Fun. All of the latest images from the Spring is in the Air collection will be available for purchase today in the Little Darlings Rubber Stamps On-line Store

P1040228
I want to take the opportunity to thank Mindy Baxter for allowing me to play with the big kids.  I am so honored and touched beyond words.  I think it will be a very long time before I come down off of Cloud 9. Send a kiss

Remember to leave a comment on each blog that you visit, as one lucky commenter will be chosen to win the Blog candy.  The Blog Candy ends March 20th. Inlinkz for the challenge will end on March 27th. 
Blog Hop Order:
Little Darlings Challenge Blog - http://littledarlingschallenges.blogspot.com/
Jane - http://janesboxofcolours.blogspot.com/ GDT for the month of March

Thank you so very much for visiting today! I will be joining these challenges:

You Are Such a Joy!

P1040223
P1040225
Our challenge over at 7 Kids College Fund today is the always popular and super fun, Anything Goes. For more inspiration, pop over to the 7 Kids College Fund Challenge blog and don’t forget to play along. I would love to see one of you win!! Smile
Supplies can be found in the 7 College Kids Store.

I will also be joining these challenges:

Magnolia Stamp Lovers ~ Sentiment

A Wiper Card along with my new Copic Storage

The challenge for the week over at iCopic Lovers is Red Hair. I have to tell you, this was a fun hair color combo.
My card is a Wiper Card and the tutorial can be found here, at Splitcoast Stampers
P1040209
P1040211
E000. E00. E13, E21, E25, E27
B000, B00, B0
BG000, BG00, BG32
G21, G24C00, C1, C3
R0, R81, R83,
BV11
G21, G24
Good Morning iCopic Lovers! It's Sheri here and today I wanted to share with you my new method of storing my ever growing Copic collection.
I had outgrown the Pampered Chef Roundabout I had been keeping my markers in. 
So, after searching and searching the internet for inspiration, I came up with this and it could not have been any easier to make! In my craft room, I have a large variety of Black and White boxes for storing all of my craft supplies.

All I needed was a trip to my local home improvement store to pick up a length of Vinyl Rain Gutter Downspout.  The nice man at the store cut in in half so that I could fit it into my car.

.


Vinyl Rain Gutter Down Spout
When I got it home, it was just a matter of finding the right size pieces to cut the vinyl downspout into...and what to cut it with. I ended up using a Dremel and cut them to a length of 5 inches each, although you could certainly use a Utility Saw or Hack Saw. Cutting the vinyl is very easy...but messy, but the entire process took less than 20 minutes and the thing that I love most about my new storage system is it's ability to grow. With each section comfortably holding 25 Copic Sketch Markers, the only thing that limits the amount of storage ability is the size of box that you choose.  
Thank you so much for letting me share my new Copic storage system with you today. Be sure to hope over to the iCopic Lovers Blog so that you can join the Red Hair challenge for the week!
I am joining these challenges:


Happy Saturday!


P1040178
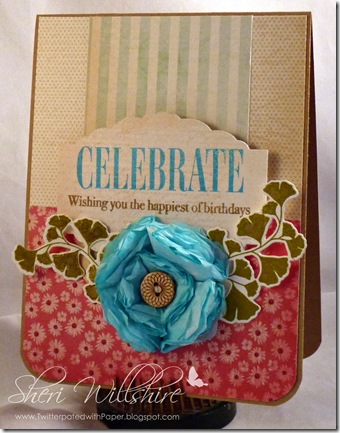
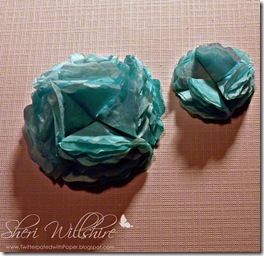
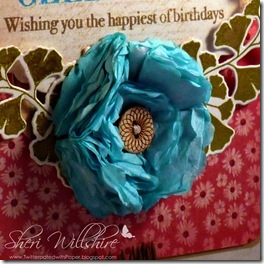
I received a very exciting email the other day, letting me know that I had been chosen as a Guest Design Team member for the Sugar Creek Hollow Blog!!  SUCH an honor, right? I sure thought it was…but it wasn’t until I said yes, that I was told what the challenge was….Ready? Trash to Treasure. (Insert screeching breaks) Surprised smile So totally not in my comfort zone. As I was in the process of writing back to Cec, to her to tell her that I had just broken, not one…but both of my arms in a  very nasty stamping accident (if you know me, you know telling a lie is not in my forte. Actually, I was born with a guilty conscience. It was not at all unusual when I was a child to wake my Mom up in the middle of the night to tell her the truth. She’d just pat me on the head and say, “that’s nice. Now, go back to bed”.) and would not be able to join them. But…that’s when it came to me what I could do! It didn’t hurt,  of course, that I had just opened a recent purchase from Papertrey Ink…and sitting in front of me, was the tissue they use to wrap the stamps in. Normally, that tissue goes right in the trash, but…no, no, no…. not this time. This time that trash was going to become a flower.
Since, I’ve been on a bit of a tutorial run here lately, I thought I would show you how I made my flower.
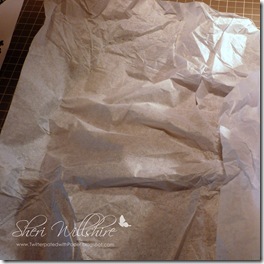
Gift wrap tissue paper (pretty, huh?)
P1040169
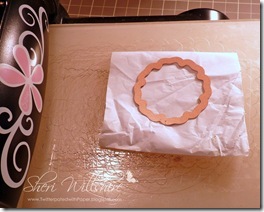
Cut a strip of tissue and fold over several times.
Cut through several layers at a time with a die of your choice. I used a Blossoms 3 from Spellbinders.
P1040170
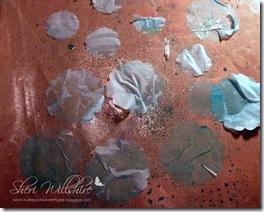
Spray with Tattered Angels Mist. The tissue will be fragile at this point, so be careful.
P1040171
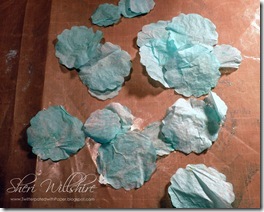
I dried mine with a heat gun, but you could certainly set them aside to dry.
P1040172
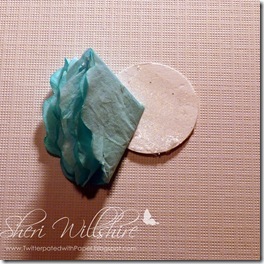
Take 3 or 4 tissue flowers, stack them and fold in half.
Now fold in half again so that you are left with a stack of blossoms folded in quarters.
Cut or punch a circle and apply adhesive to the circle. I used ATG adhesive.
Apply the stacked and folded blossoms to the circle. Repeat this three more times, until you have the circle completely covered.
P1040181
Repeat those same steps with a second smaller die and circle.
P1040183
Stack and glue the smaller set to the larger one.

P1040184
Tada…a tissue paper flower.
P1040180
I would now like to invite you over to the Sugar Creek Hollow Blog to see the Design Teams fabulous inspiration. Thank you so much to Cec and the rest of girls for asking me to join their team for the day!
Supplies Used:
Papertrey Ink ~ Celebrations Stamp Set
Papertrey Ink ~ Celebrations Frame Die
Papertrey Ink ~Harvest Berries Stamp Set
Papertrey Ink ~ Harvest Berries Die
Spellbinders Blossom 3 Die